0
The 4th of July is just around the corner and that means lots of fun, family, and fireworks! Now is the time to grab your camera and get creative with sparklers. Matt Kennedy gives us his insights into capturing that “spark” between the bride and groom with his sparkler photography tips.
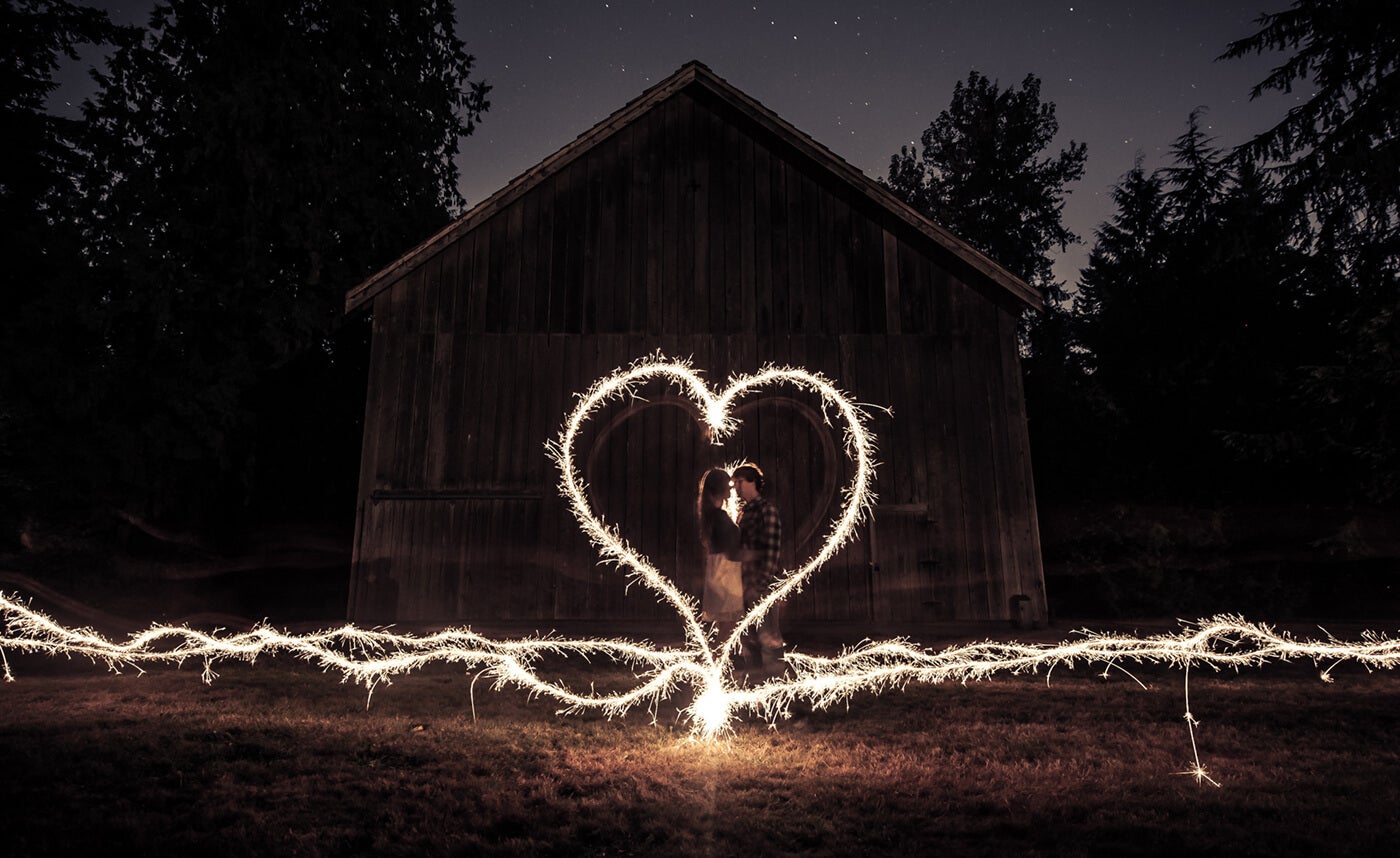
One of the latest trends in wedding photography has been late-night sparkler photos. I’m sure you’ve seen a few of these floating around Pinterest, and some of your brides may have even asked you to do some for their wedding! Even if that hasn’t happened yet, it probably will, so you need to make sure you’re ready and capable of getting your couples what they want.
To be successful in photographing sparklers and bridal couples, you’ll need to keep a few things into consideration while planning for the wedding day. Here are 5 tips to making sure you get the best sparkler photos possible, and then also a little bonus video with 5 more tips for you at the end!
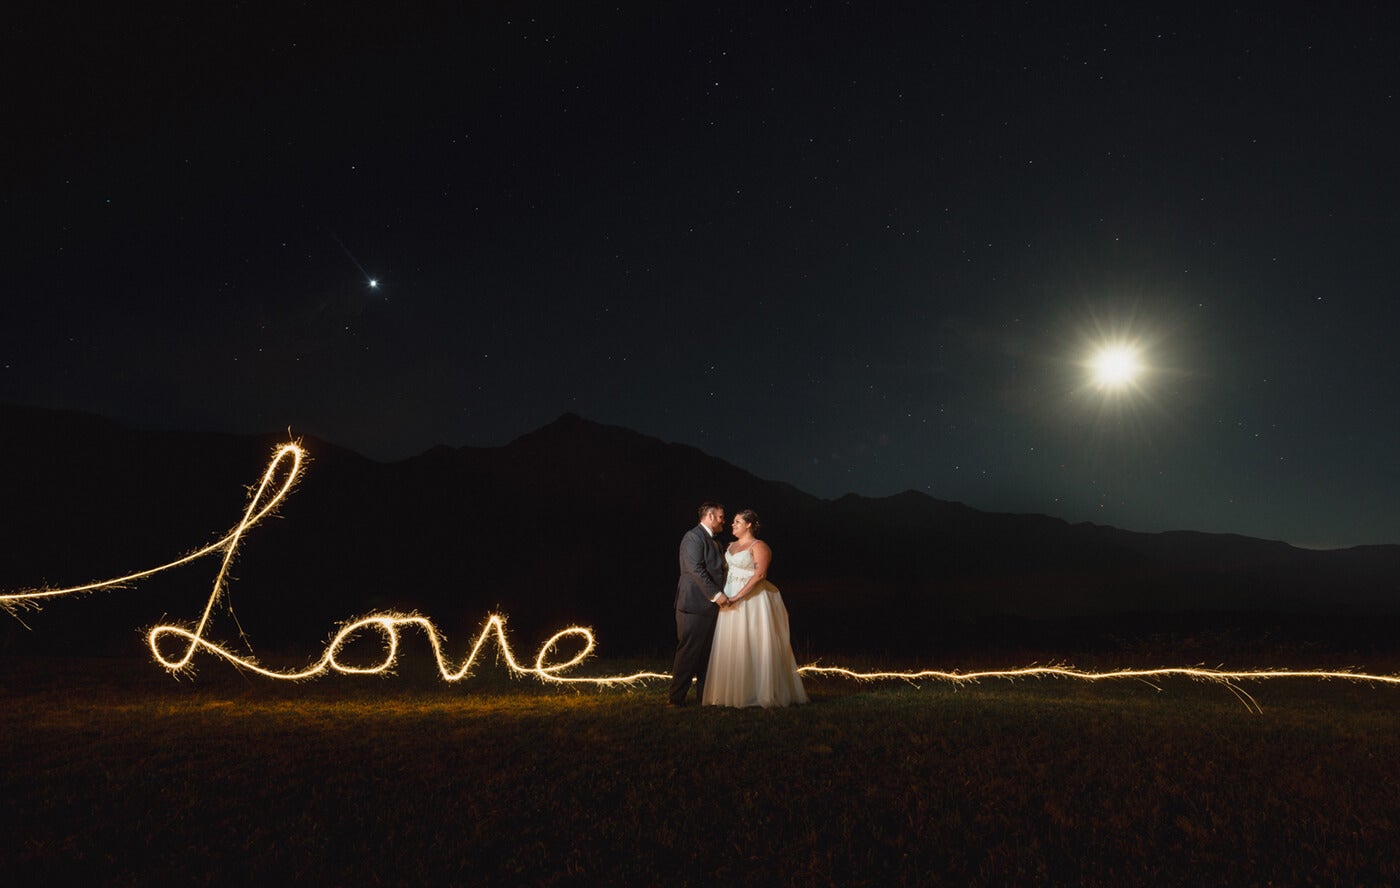
In order to get great sparkler photos, it’s important that you can have your shutter open for a long enough time to run around like a maniac and draw everything you want to draw, while also leaving time to pop a flash! This means that it has to be pretty dark when you do your sparkler photos, so planning the timeline in a way that allows for you to have the couple for 10-20 minutes when it’s dark out is a must. If you don’t have an area and time where it will be very dark, then you’ll have to do more short exposure shots where your shutter is open for 1-5 seconds instead of 10-30 seconds.
I always go through an ideal timeline with my clients at our first meeting, and at that meeting, I describe how and when I would suggest they do sparkler photos if they want them. It usually ends up being about 15-30 minutes after the first dances that we get to sneak out and do some sparkler photos.
Mastering your camera is your job. You’re a photographer, so learning how to manipulate the settings on your camera to achieve the image in your mind is a critical skill. When it comes to sparkler photos there are a few things you want to make sure that you remember.
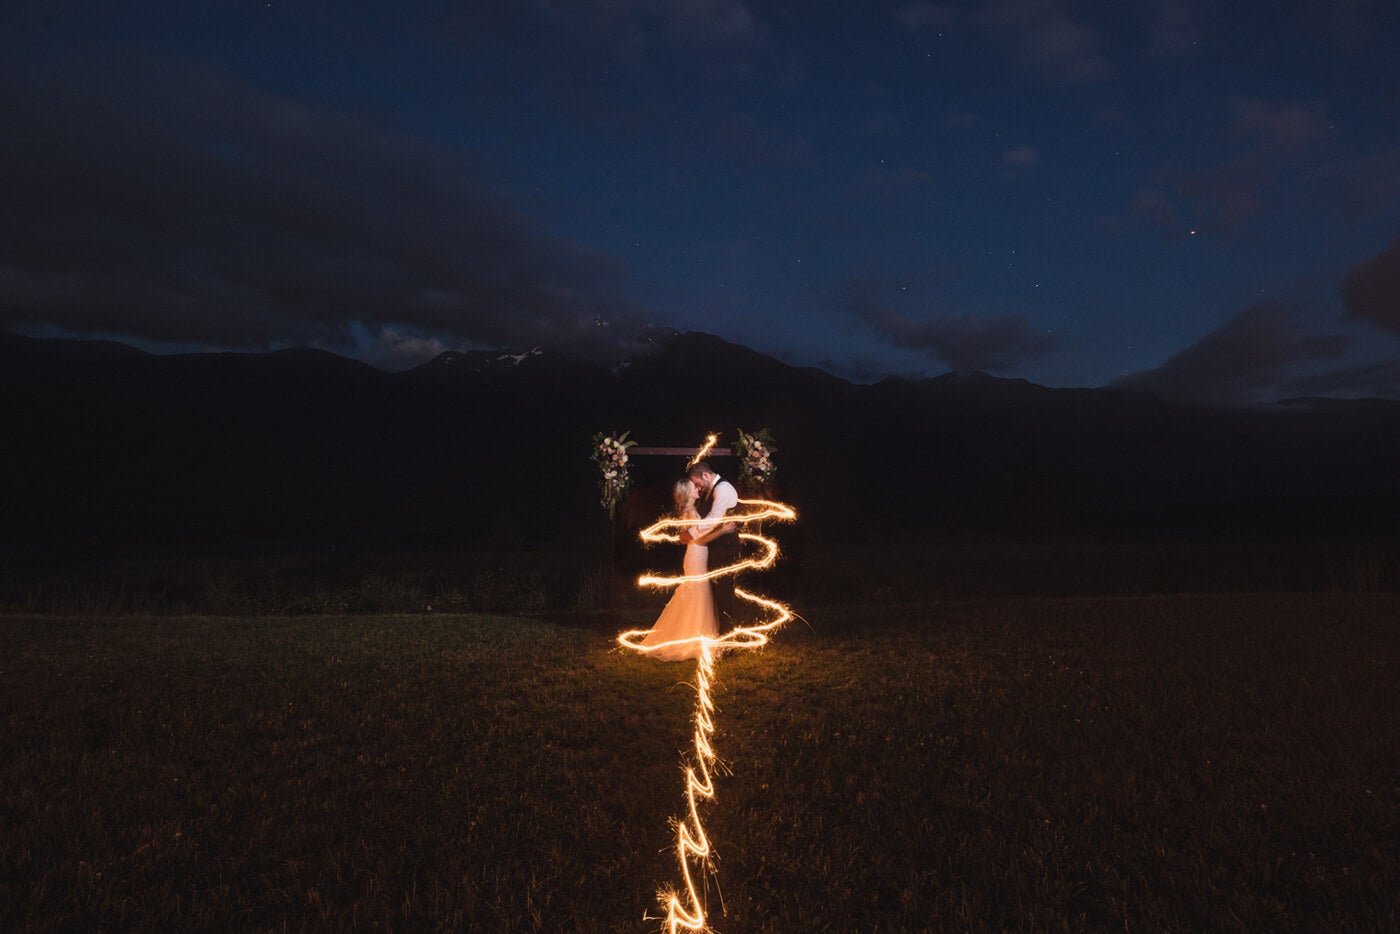
Sparklers are millions of little bursts of light, just like a flash, so that means that ISO and APERTURE do affect the brightness of the sparkler in your image, while shutter speed does not affect the brightness of the sparkler in your image. However, whatever the sparkler is lighting up (ie. your clients as your come close to them) is being lit up as if it were from an ambient light source rather than a flash. This means that if you hold the sparkler next to them or yourself for too long, ghosting will appear, so move fast!
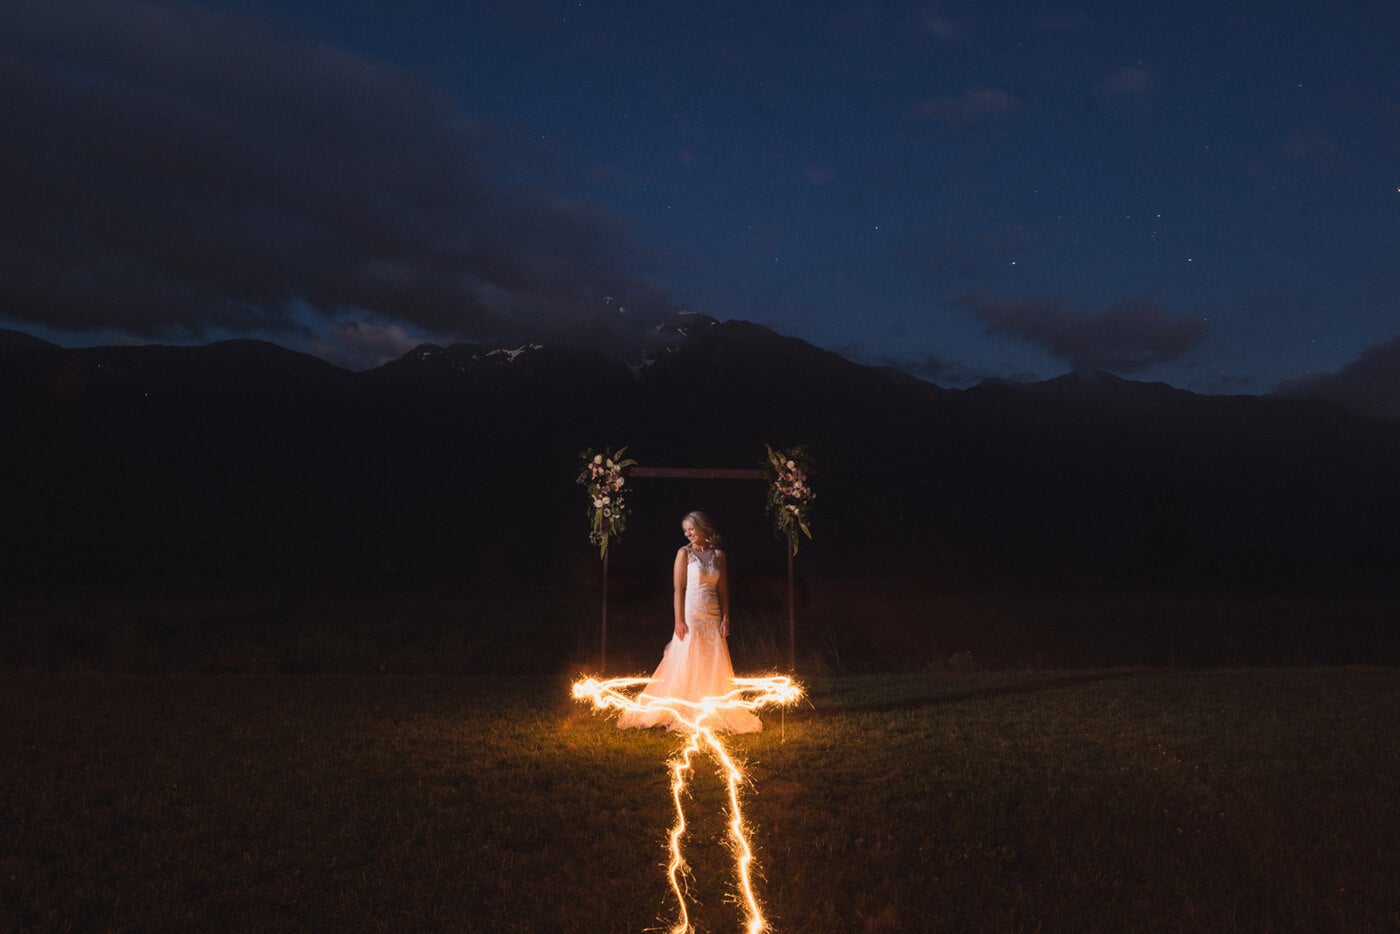
Start with the settings: 20sec, f4.5, ISO 200 and take a test shot. Analyze the photo and see what needs to be changed to get the background how you want it. Then take a test shot with a sparkler in it and see what else needs to be changed to get the mix between the background and the sparkler perfect. Then take a test shot with sparklers and ending the shot with a pop of your flash in hand. Adjust your position or the intensity of your flash until it exposes the subject properly.
BONUS FLASH TIP
Use your flash in manual power mode and have it in your hand while you’re running around with the sparkler. Once you’re out of the frame, have a place to safely drop the sparkler (remember, this is fire on a stick) and then run back into the frame (or have an assistant run-in with the flash) and pop the flash on the couple. You can also set up a flash on a stand if it is out of the frame (or inside the frame if you care to photoshop it out) and pop it with a trigger. It’s best to have it off of the camera and not relying on rear-curtain sync, but rather hitting the manual flash button to light your subject.
Your couples have probably seen these photos on Pinterest and have ideas of what they want, make sure you find those out so you can at least get one of them before you move on to your original ideas. Think of new ways to compose your shot, pose your couple, and light your images so you have fun with this and don’t just become a copy cat. Share your ideas with them, and allow them to share their ideas with you, then choose a few that you know you can nail, and at least one that will challenge you!
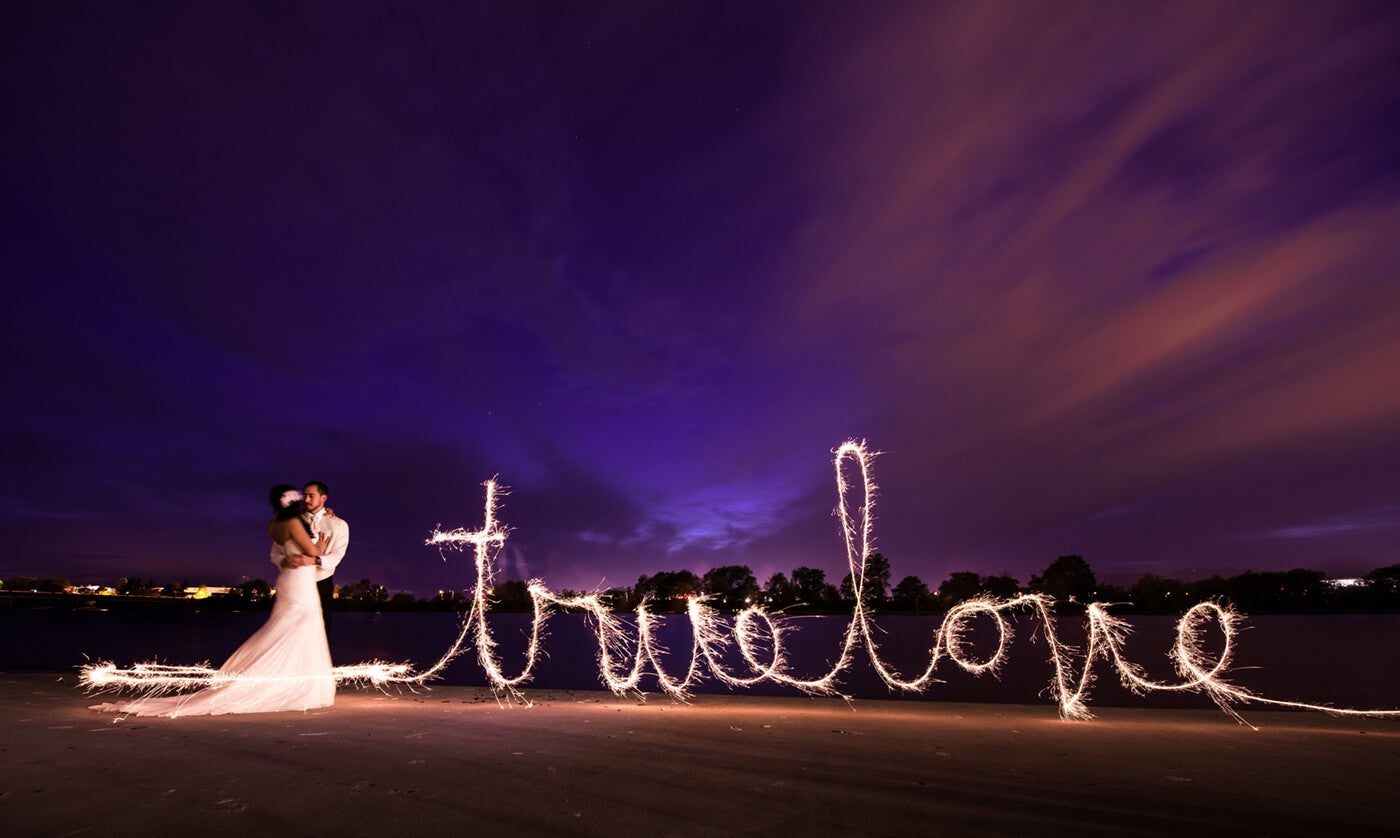
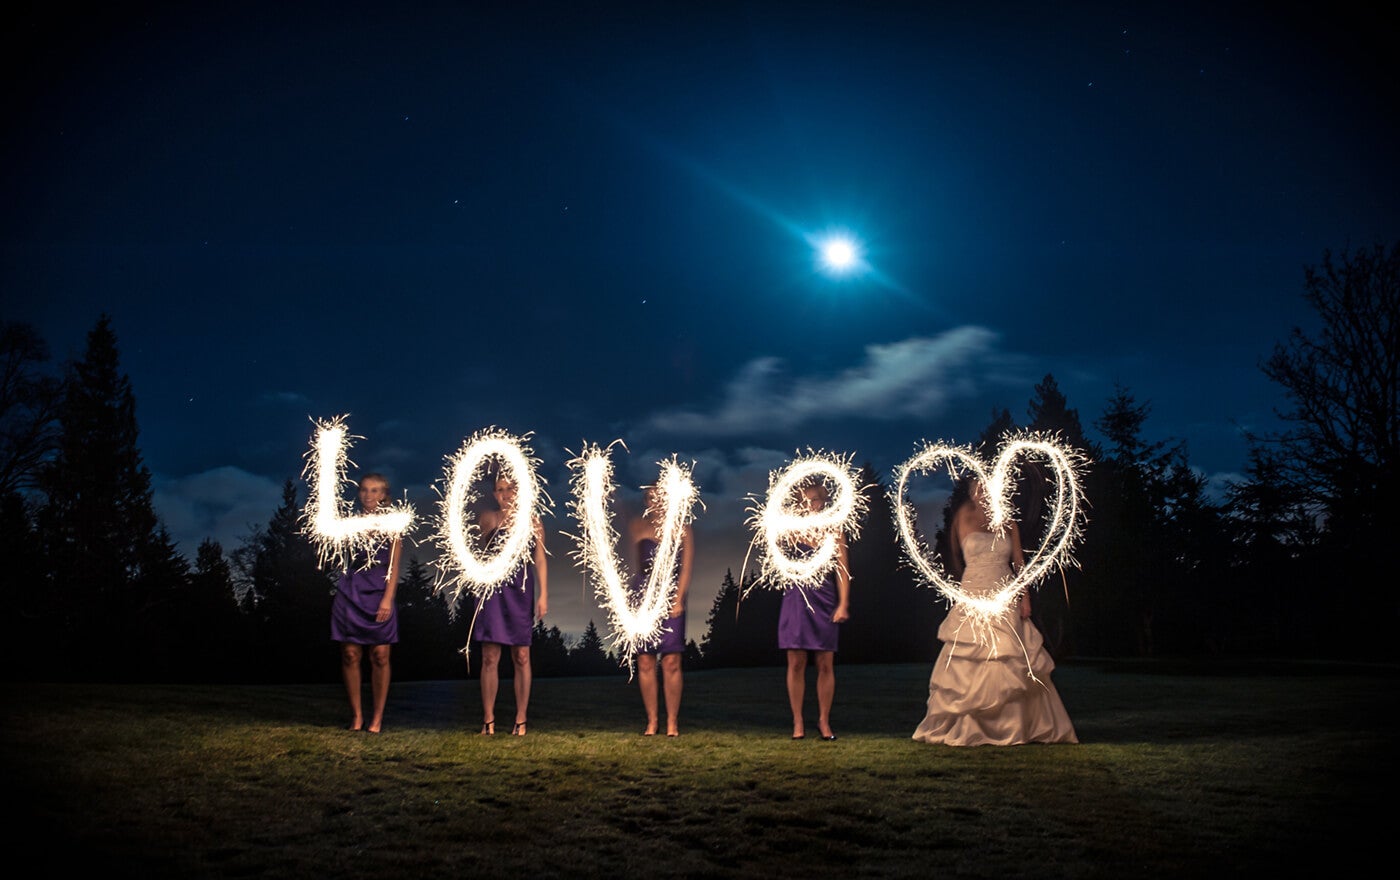
Sometimes it’s fun to incorporate the wedding party into these shots, especially for the short exposure shots. Just remember, the sparkler drawing is the hard part, so you’ll have to coach them to get it right. Sometime I will take upwards of 50 photos of one type of shot just to get the letters right.
Most sparklers are gold in color, so when you combine a sparkler with a flash you will see a big difference between the colors lighting your subject. Remember to always white balance so that your subject is the proper color so they look natural. Consider using a CTO gel on your flash so that you can closely match the color of your flash with the color of the sparkler. If you’re only using ambient light and sparklers in the photo, then adjust your white balance to the color of the sparkler so that the couple is the right color in your image. There’s nothing worse than a blue wedding dress because your white balance is off!
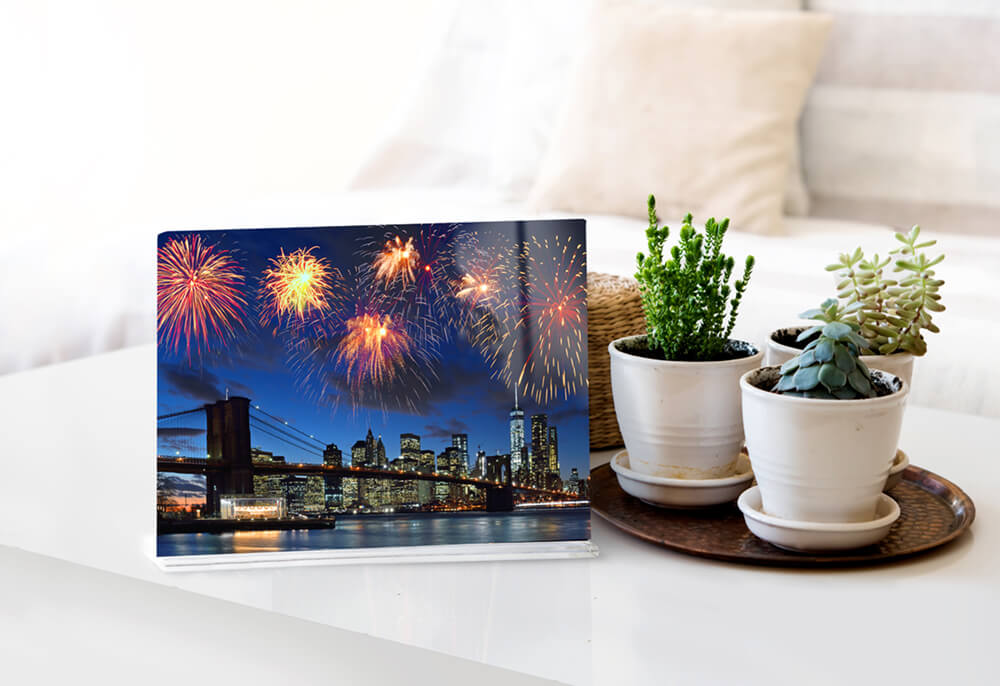
Thank you Matt for your tips. For your fireworks and sparkler photos, try printing them on metal with glossy, white to bring out the best in ALL the details. If you’re wanting to print on paper, the glossy or metallic will make your prints pop with their vivid color and sheen!
 Facebook
 Twitter
 LinkedIn
 Email
Email