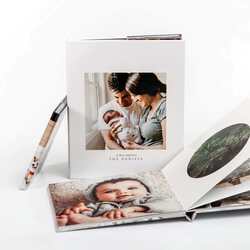
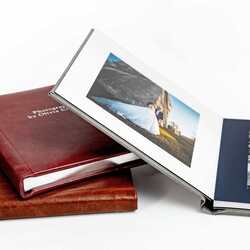
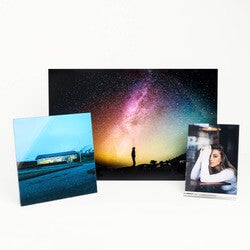
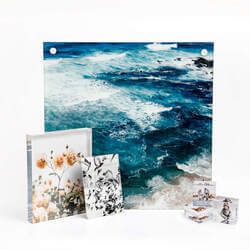
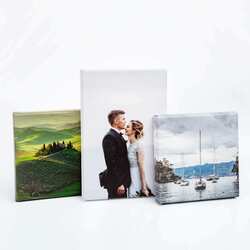
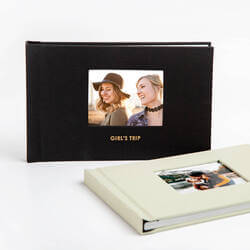
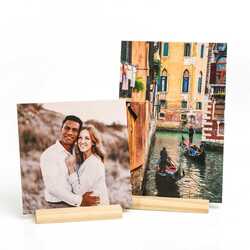
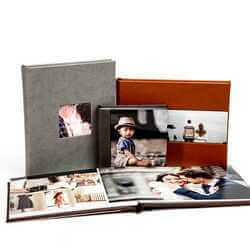
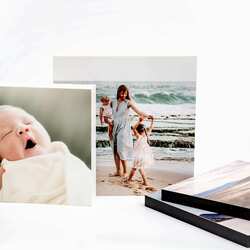
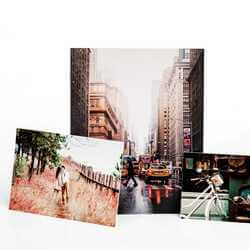
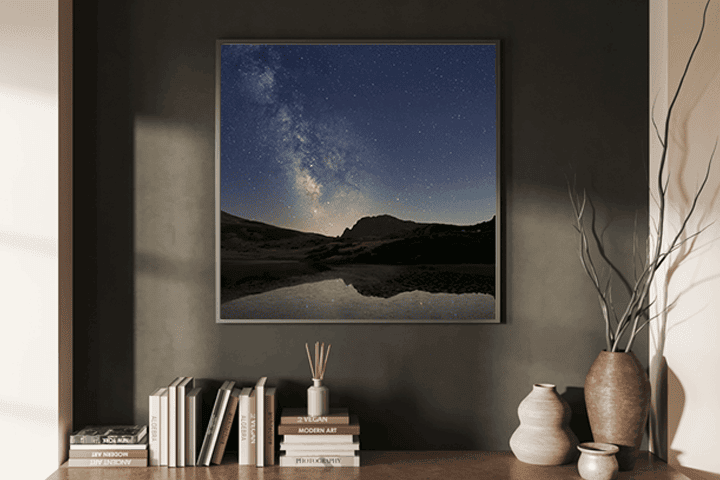
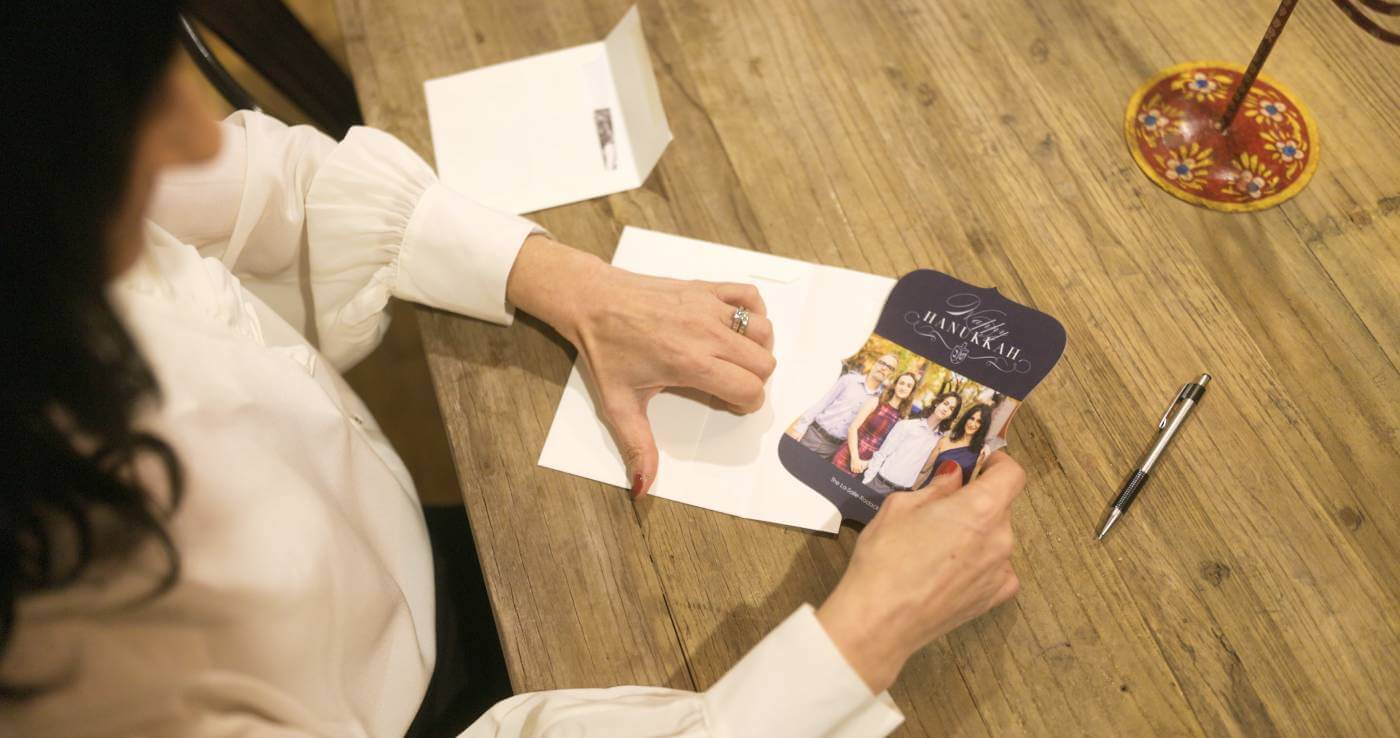
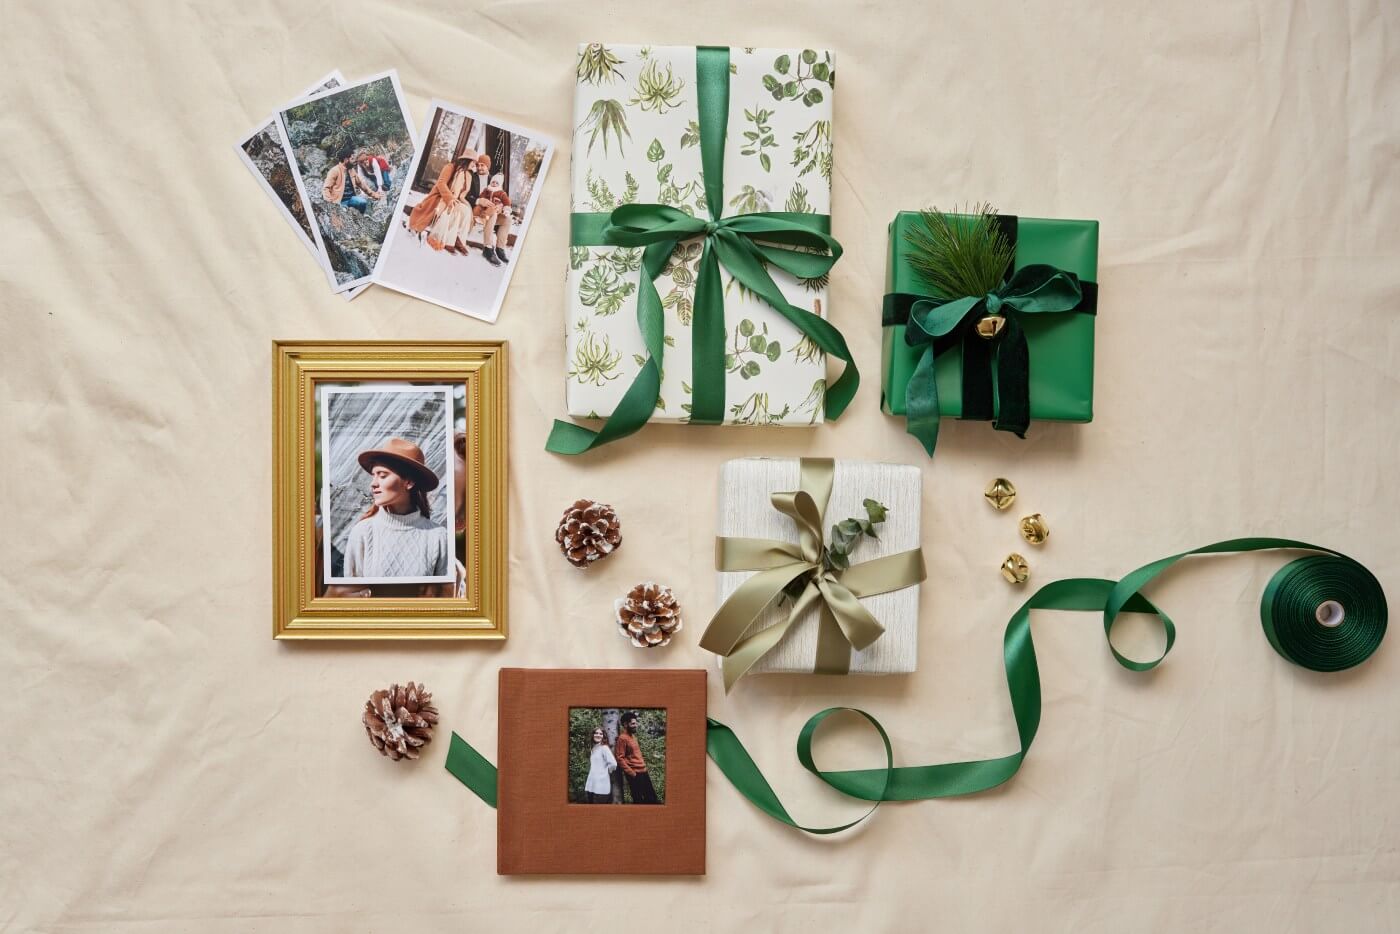
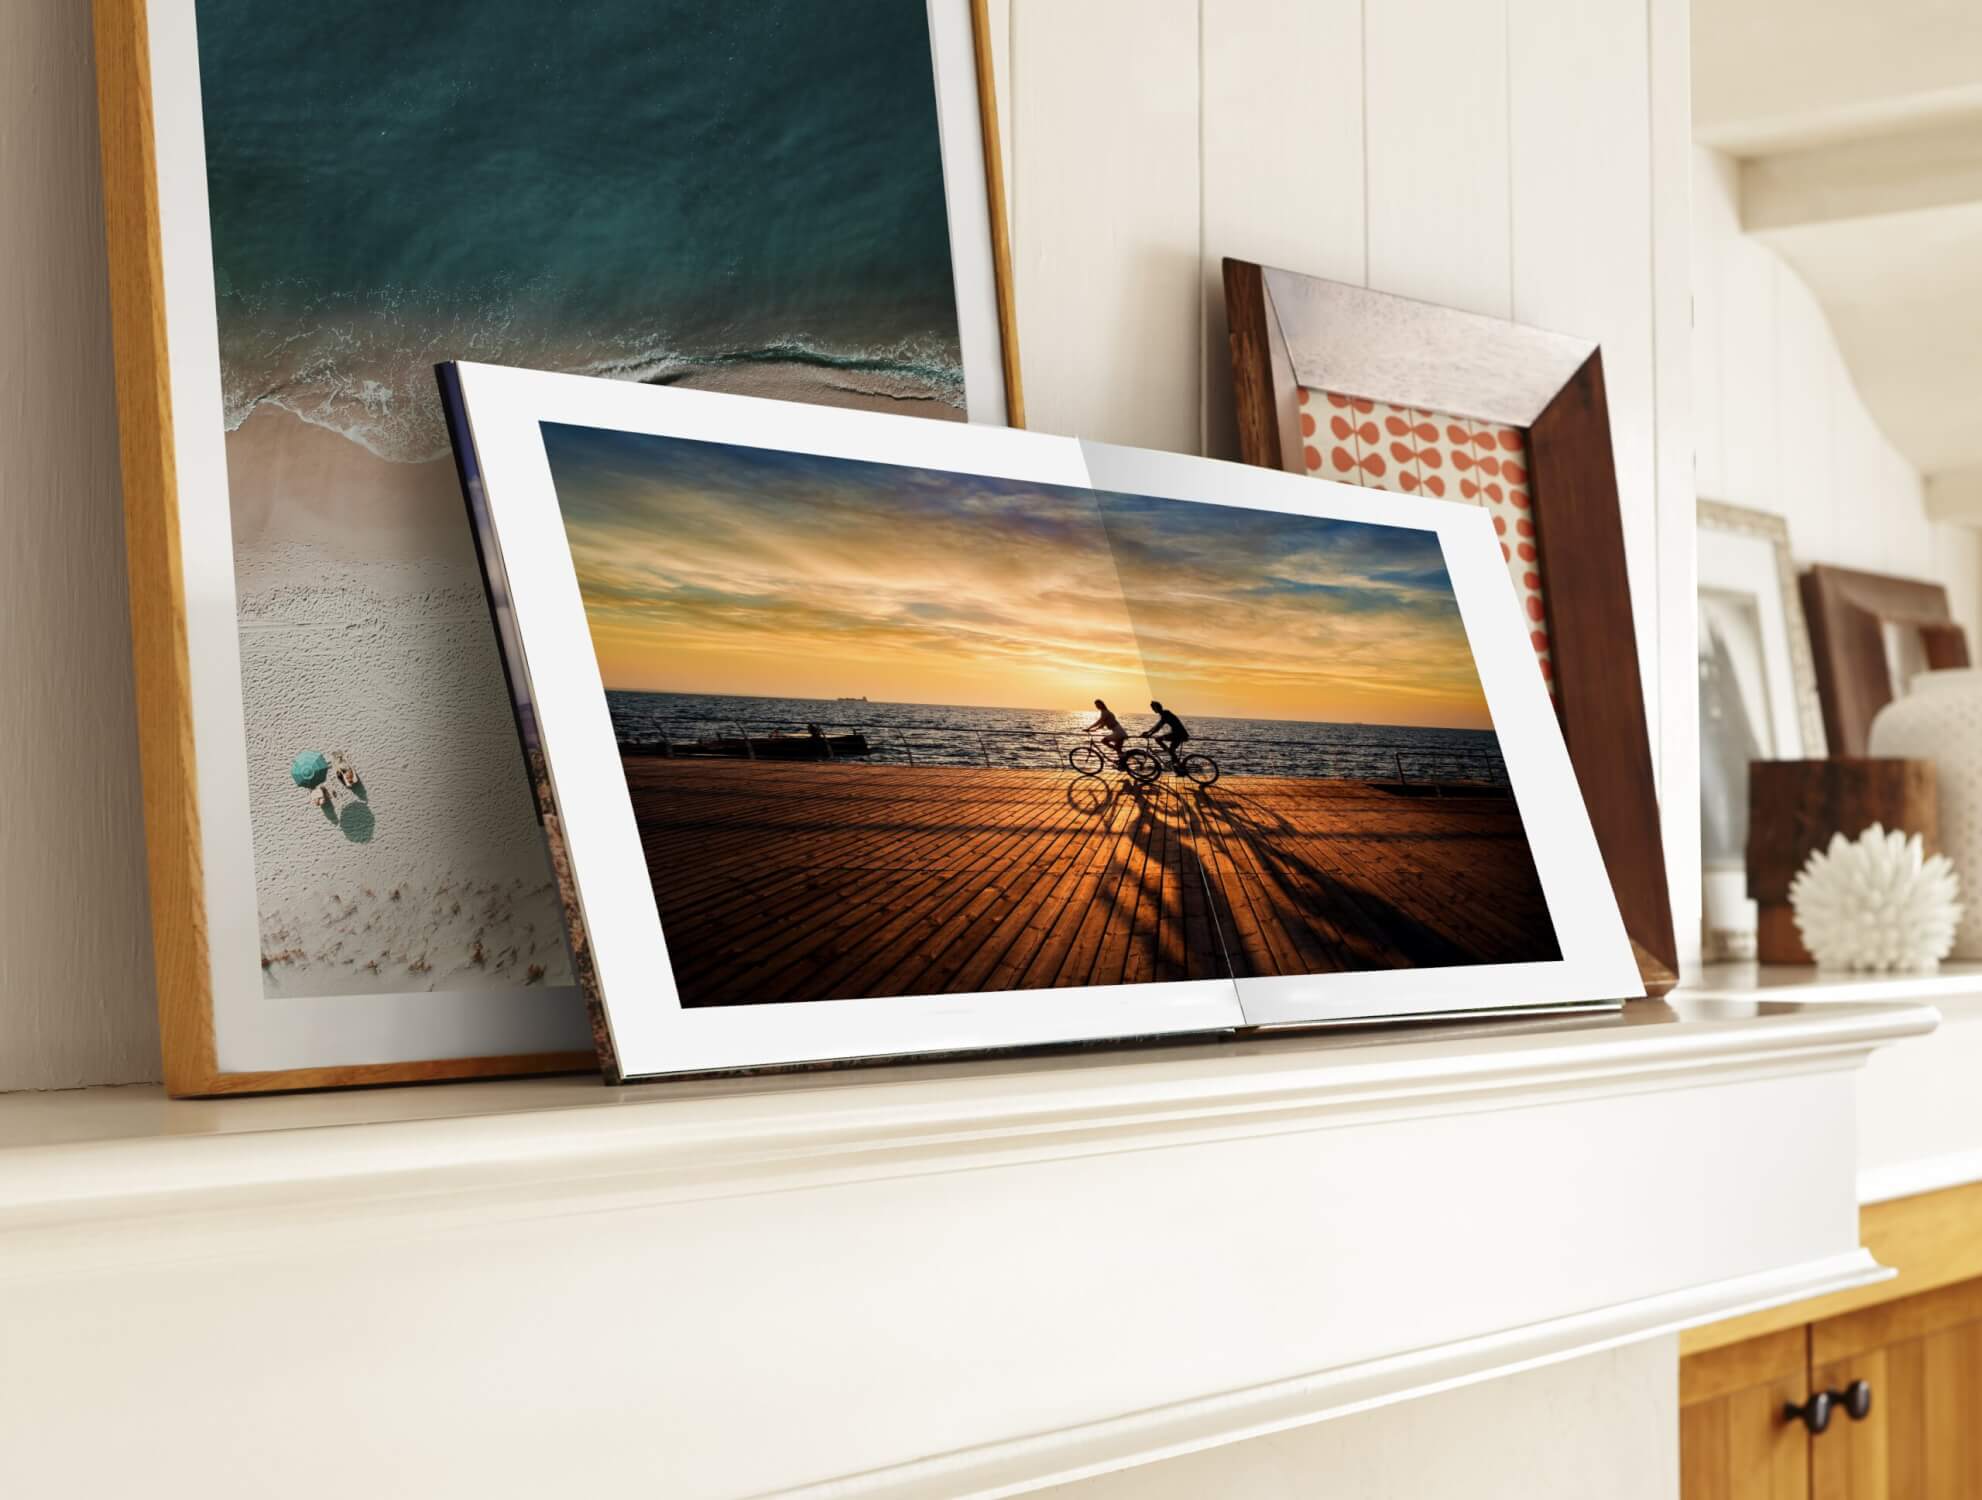
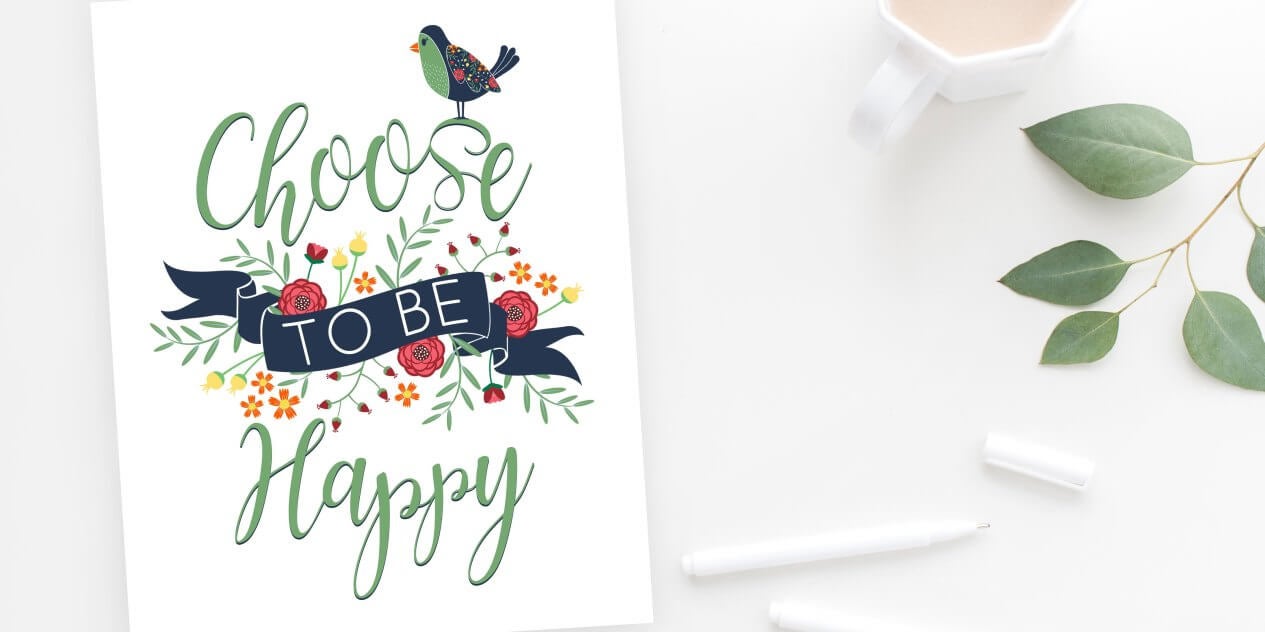
We had an amazing webinar this past Sunday evening by Broomfield, Colorado Family Photographer Natascha Lee Studios.
It was our most popular webinar so far, and I’m still receiving messages this morning about how helpful the free webinar was. We had over $1,500 in door prizes and blelow is the list of winners. If your name is in bold, please be sure to email Natascha to claim your prize. Rather than publish her email here (go away spam bots!), message me for her email address, or pls visit her website or her Facebook page to get in touch with her.
Vendor Winner
Love Bugs Photography Kae Ponder
Triple Scoop Music Jeff Ben Yirmeyahu Mills
Triple Scoop Music Peyton McCollum
Triple Scoop Music Dustin Grau
Animoto Pete Jones
Red Boot Designs Rachel Mason
Red Boot Designs Anette Kerns Marshall
Kubota Image Tools Jamie Carollo
Kubota Image Tools Michelle Skinner Tanner
Zenfolio Lina Ska
Photo Vision Peyton McCollum
Photo Vision Becca-Rae Gilman
Adorama Pix Didi Rose Huntley
Bird Design Greg Wong
Fresh mozzarella, cherry tomatoes, pesto. Mmm… I love a good mouthwatering photo, don’t you?
Grab your camera and fork – get ready to dig in and kick your food photography up a notch with a few of these mouth watering tips.
Bam!
Find the light.
Light is the single most important element in photography. Take advantage of available light by placing your dish near a window or under an overhead light in dimly lit restaurants or rooms.
Think before you click.
Think about the placement of your subject within the frame before clicking. Create interest, depth and draw the viewer’s eye (and taste buds) in by placing your food to the left or right of the frame, shooting from above or from the side. Experiment. Get creative.
Photograph the work-in-progress.
There’s so much beauty in the creativity process. Photograph the process of creating your family’s favorite meal. Eating out? No problem. Photograph the process of eating your meal. Take photos of your half eaten dessert, fallen crumbs on the side of the plate, etc.
Details, details, details.
Show me the yummy! Get up close and personal by focusing on the details – parsley flakes, grill markings, sprinkles on a cupcake. Are you drooling yet?
Keep it simple, stupid.
Eliminate unnecessary distractions and make a bigger impact. Forget the props, forget the fancy setup. Don’t be afraid to keep it simple.
Food photography can be a bit intimidating at first, but you’ll be well on your way to taking mouthwatering photos with the help of these easy-to-follow tips.
AdoramaPix Contributor: Kristi Bonney is a writer, photographer and speaker with a deep-seated love for all things social media. Her blog, Live and Love Out Loud, is a beautiful and inspiring hub for photographers of all skill levels – featuring photography tips and tutorials, freebies and inspiring photo challenges. Kristi’s passion for photography is matched by her love of parenting and empowering women.
A Family Affair: Top 10 Tips for Amazing and Profitable Family PortraitsFree Webinar: December 9th, 9pm ESTOver $1,500 in door prizes generously donated by:
I’m an artist, I can’t help it. I see something and I want to deconstruct it and put my own spin on it. It’s something I’ve done as a child, it’s something I do to this very day. So, I thought I would share each week some of the funky things I do with products from Adoramapix. It’s fun to think outside the box and create art that works for you.
So here we go, week one , we’re doing a craft with the kids for the holidays. So you’ve given the grandparents every picture you can find of your kids and you’re stumped for the holidays. Why not turn their pieces of art work.. into well, art work? ha. I’ll explain.
About one month ago, when Adoramapix ran their special on 8×8 -14 page photo books , I decided to scan all of my daughter’s art work and put them into this photo book. I enjoy looking back through the school year to see her drawings, pastels, paintings and more. It got me thinking, since they are already scanned, why not order some square prints of them and turn them into coasters for the grandparents.
So here you’ll see the photo book I made. I then ordered some images as 4×4 size. I chose four of my favorite images for the coasters, but for this demonstration, I’ll just show you the one. I then went to Home Depot and picked up a small pack of tumbled tiles. Now the 4×4 images were just a little too big for the tile, so instead of cutting them down, I decided to rip the edges to give it more of a rough look to it to match the rough tile.
For this art project, we also had to buy Mod Podge and a foam brush.
The beauty of this project is that my 11-year-old was able to do this mostly by herself with very little help from me. So next we glued the image down to the tile. Then we put several coats of Mod Podge on top. It’s important to let each coat dry thoroughly before applying the next one.
Now although it looks great once it’s dried. It’s still not complete. Remember, someone is going to put a drink on this so there will be moisture. So we finished this up with a final spray of matt sealer. This step should be done by an adult.. look at all those warning signs! I did this part, outside on top of parchment paper. Apply several coats again and make sure each coat is dry before applying the next. Now it is sealed.
We made three more coasters of my daughter’s art work and we are now ready for the holidays with a truly unique, home-made gift with the help of Adoramapix. Thank you Adoramapix!
Materials:
(4) 4×4 tiles
(4) 4×4 prints from ADORAMAPIX
(1) foam brush
(1) bottle of Mod Podge
(1) can of finishing spray/sealer
It isn’t often that I take the pen in my hands but I felt this is one of those times when I felt I would be able to convey the message the best.
As some of you have noticed, we recently introduced a
For a long time, we had been puzzled that many orders slated for store pickup were never claimed. Of those that were picked up, many (over 20%) waited for over a month before being picked up. As you can imagine, this added up over time. With the limited space in NYC this situation grew out of control, and we were out of space at the pickup counter.
About a year ago, we tried to address the situation by sending out reminder emails as well as trying to reach customers by phone. It helped a little but not enough. Unfortunately, this also added labor costs. We considered putting an end to the in-store pickup service, but before doing so we surveyed our customers about their reasons for ordering store pickup. The top three responses were:
1. It’s convenient.
2. It’s faster.
3. It’s free.
Since some of our customers benefited from the service, we decided to keep it and instead add a small convenience fee to cover our costs while maintaining the option for those who benefitted from the speed and convenience.
I would love to hear your thoughts and if you feel there is a better solution. We are certainly open to other ideas.